
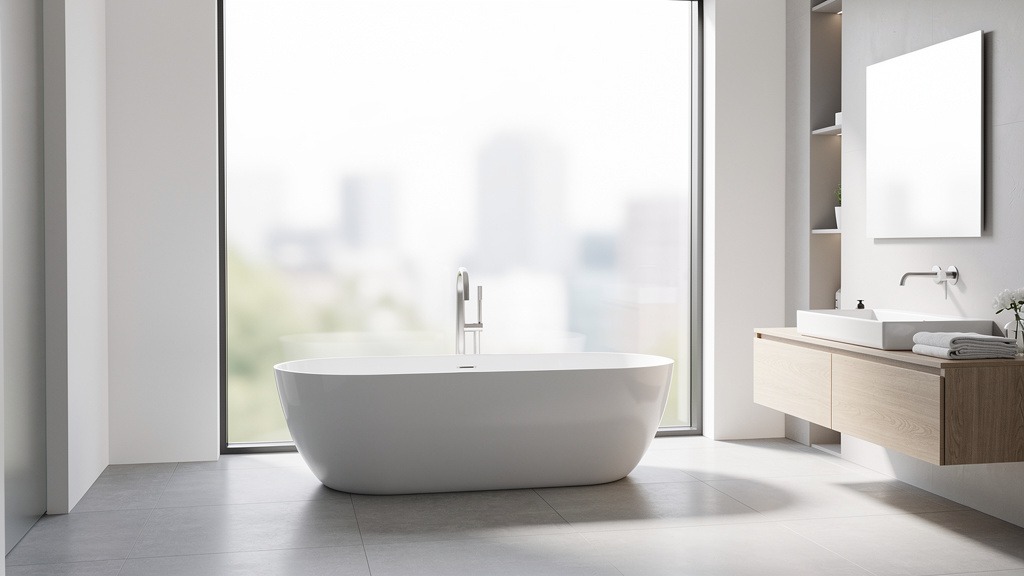
Planning Your Bathroom Renovation
Bathroom renovation planning hinges on answering two straightforward questions: what needs fixing, and how extensive should the work be?
Defined Scope
Keep your layout, materials, and contractors working together smoothly to prevent expensive do-overs.
Realistic Budget
Price the actual work your room needs and protect that number with a buffer for hidden surprises.
Moisture Resistance
Choose materials that handle daily moisture exposure and cleaning habits, not just showroom appeal.
When you’re figuring out how to renovate a bathroom, start by assessing what you’ve got and jot down what absolutely must change versus what you can live with.
Setting Clear Boundaries for Your Project
Scope acts as the dividing line between a surface-level refresh and gutting everything down to the studs.
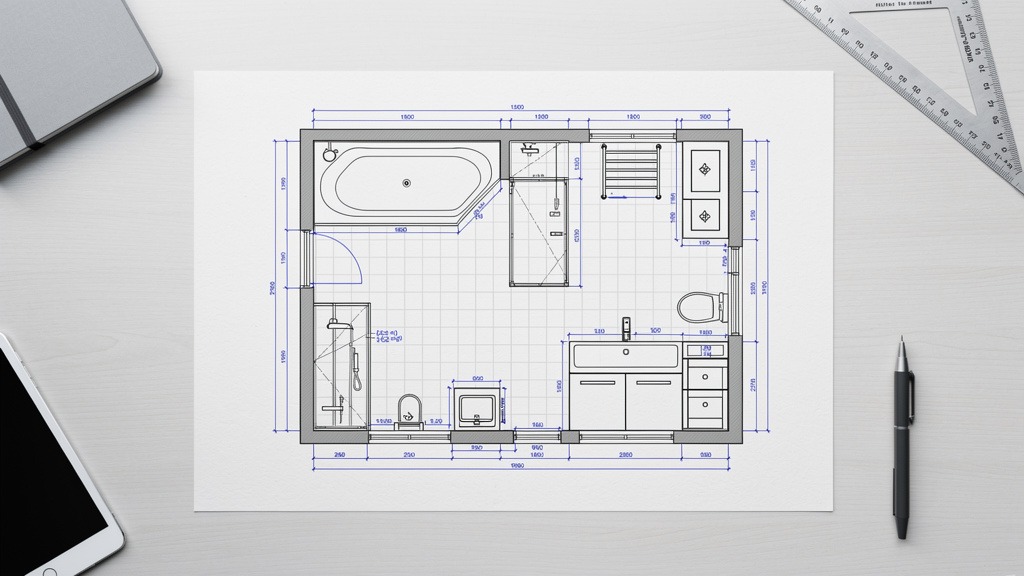
Surface Refresh
Update paint, lighting, mirrors, and select fixtures when your current setup and waterproofing still hold up well.
Complete Overhaul
Strip everything back and rebuild from scratch when your layout doesn’t work, ventilation stinks, or your shower area desperately needs new waterproofing.
Spotting Problems Before You Fall in Love with Products
Walk through your bathroom and document specifics. Skip the emotional stuff for now.
- Layout issues (door clearance, toilet space, shower access)
- Mirror lighting quality
- Storage for your daily routine
- Ventilation performance (fogging up, odors)
- Fixture problems (leaks, wobbling, stains)
Creating a Master List That Prevents Project Creep
Keep one running document that connects every decision to timing and money. You’ll see these categories again when you’re looking at bathroom remodel cost breakdowns.
-
What you want to achieve: Style changes, better function, home value, accessibility
-
Must-haves vs. would-be-nice: Luxury additions like spa tubs fit here
-
Materials and finishes: Specific selections for tile, vanities, and fixtures
-
Budget limits: Your comfort level with surprises
-
Schedule restrictions: Especially if this is your only bathroom
Understanding Real Costs and Setting a Realistic Budget
A realistic budget separates smooth renovations from stressful decision-making marathons. Budgeting demands strictness and specificity.

Budget Ranges by Bathroom Type
Powder Room
Typically costs less due to minimal waterproofing and fewer fixtures. Costs climb with premium finishes or custom storage.
Standard Full Bath
Mid-range for most homes, including tub/shower waterproofing, new ventilation, and tile installation.
Master Bath
Highest cost due to square footage and luxury features like heated floors or custom cabinetry.
Step-by-Step Budgeting
- 1
Start with a room-specific list: Note layout problems, ventilation issues, and storage gaps based on your current room.
- 2
Decide what stays: Honestly assess fixture condition and anything behind walls.
- 3
Separate labor and materials: Ask your contractor for a breakdown so trade-offs become clear.
- 4
Lock in selections early: Late tile or fixture changes commonly cause delays and added costs.
Designing Your Layout and Choosing Materials That Last
Good bathroom renovation planning succeeds or fails based on two critical choices: a layout that works in real life, and materials that handle daily moisture exposure.
Small & Shared Baths
- Corner or wall-hung sinks
- Pocket doors to save space
- Double vanities for morning traffic
- Built-in niches for storage
Key Clearances
- Door swing and walkways
- Toilet knee and elbow room
- Vanity drawer clearance
- Shower entry accessibility
DIY vs. Hiring Professionals
Choosing between DIY and hiring professionals comes down to risk assessment, not ambition levels. DIY makes sense when the scope stays cosmetic.
DIY-Friendly Tasks
- Painting and accessories
- Installing towel bars
- Minor demo (with dust control)
- Basic caulking touch-ups
Better with Professionals
- Plumbing and electrical rough-ins
- Shower waterproofing details
- Layout and floor plan changes
- Building code compliance
The Complete Renovation Process
Bathroom renovations run smoothly when work follows strict sequencing. Proper order prevents rework and protects waterproofing.
- 1
Demolition: Remove old fixtures and expose framing to address hidden issues.
- 2
Rough-ins: Complete plumbing, electrical, and framing adjustments for niches.
- 3
Waterproofing: Install backer boards and apply waterproofing systems in wet areas.
- 4
Tile & Flooring: Install and grout tile, allowing for proper cure time.
- 5
Major Components: Set vanity, toilet, and shower/tub components.
- 6
Finishing: Paint, install lighting, mirrors, and test all systems.
Frequently Asked Questions
What’s the correct order for bathroom renovation?
The most reliable approach follows the bathroom renovation process from planning to behind-the-walls work to waterproofing to finishes to final fixtures. This prevents rework and protects water barriers.
What’s the biggest expense in a remodel?
Moving plumbing often drives major costs compared to keeping existing layouts. Inspect existing systems early to map water supply lines and drains before finalizing design.
Do I need to think about drainage and venting?
Yes. Drainage and vent stacks influence what can move on floor plans. When toilets, showers, or vanities relocate, cost and feasibility depend on new drain run distances and venting solutions.
Avoiding Common Renovation Mistakes
Mistake: Vague Goals
“We want it nicer” isn’t a goal. Define specific needs like “two-person vanity storage” or “brighter mirror lighting.”
Mistake: Style Over Function
Slippery floors or vanities that crash into doors backfire. Focus on recessed storage and layered lighting first.
Mistake: Aging Plumbing
Keeping old supply lines can lead to failure after new finishes go in. Replace old shutoffs and drains during the rough-in stage.